Declan's 4-Way "D-Box"
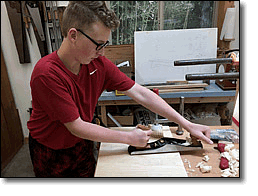
I had the great fun of my grandson Declan working in the shop on his first project in the summer of 2018. We came up with the idea for a piece of furniture for his room that had multiple uses. The "4-Way D-Box" was born, a true transformer.
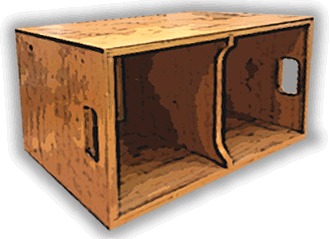
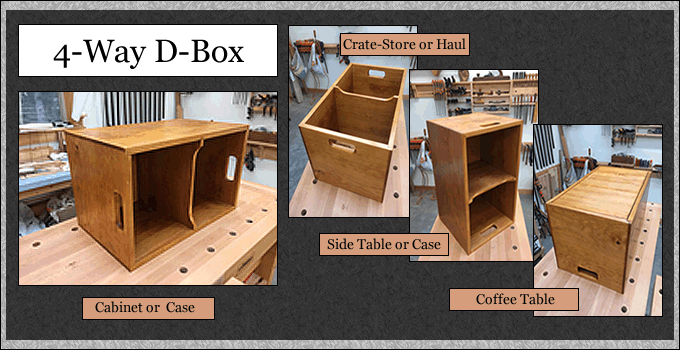
It is a box that could serve as a crate to store and haul things, be turned upside down and be a coffee table, lay it flat on the side to be a cabinet, or up on its end and it transforms into a side table or book case. A basic box with simple joinery makes for a good first student project.
Brief description of project
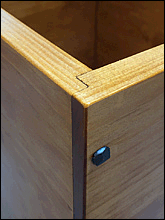
The white pine D-Box has a divider dadoed in the middle for durability and strength, rabbeted corners with rose-head forged nails for reinforcement and beauty. The sides are edge glued out of 1 x 12's, with the top (or bottom, depending which "D" is in play) of smaller pine stock glued into a floating rabbeted panel. The dimensions are 16" high x 14" deep x 24" long.
The Process
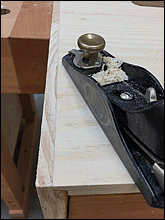
Declan learned a bit about lumber coming out of a tree, wood grain, and worked on preparing stock for edge gluing by using a bisket plate joiner. Next was gluing and clamping the sides and divider into wider stock. 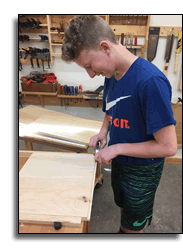 The next day he did some work with a smoothing plane (photo at top of page) to flatten the sides before we cut pieces to length with a sled on the table saw and then cut the rabbets for the corner joinery. He used a shoulder plane to cleanup the rabbets for a tighter fit (photo right). The divider dado and slot for the bottom were then cut on the table saw.
After assembling the perimeter of the box, final measurements for the bottom/top were taken and stock was prepped and glued up. 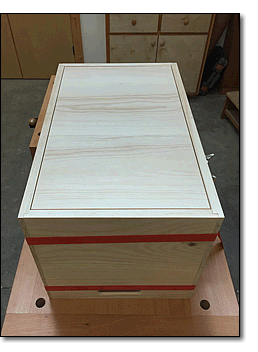 The following day the edges of the bottom were rabbeted for fit into the sides and another dry assembly (photo left) to check the final fit. Whew! Declan then sanded the pieces smooth and that's as far as we got...It was up to grandpa to put it all together and finish it.
The bottom was pre-dyed before glue-up. I used an Early American Maple wood dye, but messed up by not laying a coat of shellac on first -- so the dye was a bit blotchy. Oh, well. Before final gluing clamping cauls were necessary for working with the outside corner rabbets, not planed smooth until after gluing. Also, I used some "space balls," compressible spacers to float in the rabbets for the bottom, to allow seasonal movement. A few coats of polyurethane provided a tougher "teenage" finish. Finally, the forged iron rosehead nails were pre-drilled and hammered in along the outside corner joints.
Hopefully Declan will enjoy his first piece of furniture as he moves through high school and on to college and a first apartment on down the road. We'll have to come up with another project this next year!
