Jerry's Staked Table
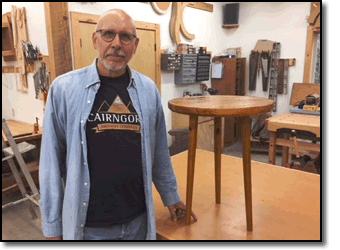
Jerry H, fellow master gardener and recent emigre to Eureka Springs from northern Wisconsin, wanted to build a table and became a student in 2018. He did not have much experience in generating wood shavings and saw dust, so we designed a class that covered basic woodworking skills through making a "staked table".
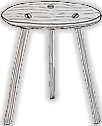
I was reading Chris Schwarz's book, "The Anarchist Design Book" (Lost Art Press, 2015), a great treatise on historical woodworking. The context here is that anarchism means to build rather than to buy, furniture that is. Adieu IKEA. An early form of stool, chair, table, bed, and workbench design was to sturdy-up the attachment of legs to the body by staking the legs: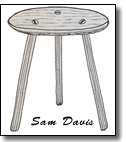 strip the design down to it's simplest form with the leg tenoned through a mortise in the plank top and wedged.
Jerry was game, so we jumped right in and went from the log to the table.
Brief description of project
A feature of my teaching method is to build pieces alongside my student's project so that they can get a broader context of methods and techniques. This makes for a richer experience and prepares for future classes. Jerry will return in 2019 to build a pair of glider chairs. In this class, while he was building his 3-legged table, I built a smaller scale version of the same table out of pine, 16" high - a tall milk stool, and a walnut version of his side table with the same 20" diameter top and 24" high.
The ProcessI had some 4' pine logs in storage from homesteading days past with enough insect damage (archeology) to make for interesting furniture.The logs were sawn into planks on the bandsaw, and Jerry learned all about four-squaring stock.
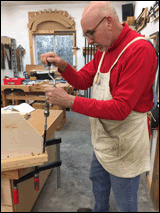
During the class, multiple jigs were built or modified to accomplish joinery and cutting tasks: a circle cutting band saw jig (below left) to cut out the 20" diameter table top; one to hold the bit and brace at the correct angle to ream out three tapered 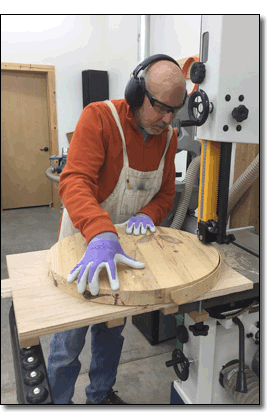 holes (mortises) into the top for the leg tenons; another to taper cut the legs on the table saw; and one more to hold each leg to hand plane the four-sided tapered legs into octagon-shaped tapers.
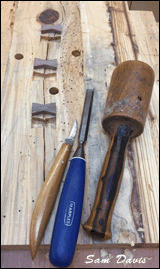
Once the top was sawn, planed, and glued-up, some repairs were necessary to stabilize splits. 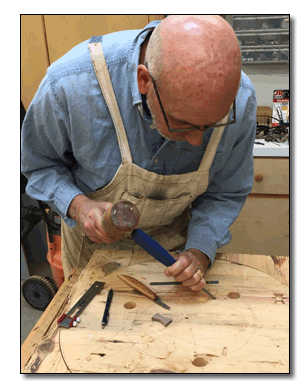 Dovetail keys were mortised and glued into the surface as needed (right). Plenty of chiseling practice here. Repairs done, then the top is circle-cut. Holes were layed out and bored for the three legs in a tapered shape with a reamer and brace to accomodate staking the leg tenons. The leg tenons were first shaped with a draw knife, then finalized with a cone-shaped cutter that complements the tapered top mortise.
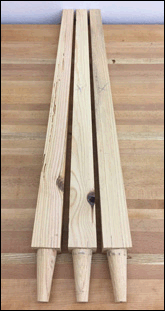
 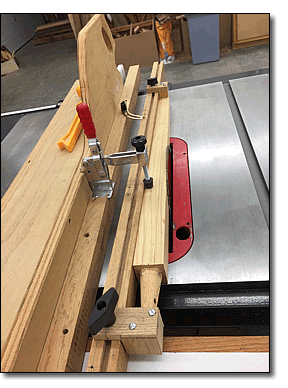 After fitting stake-to-hole, the legs were tapered on the table saw (left).
We applied a Chris Schwarz technique to the facets of the four-sided tapered legs: marking them into an octagon shape, securing to a hold down jig, and hand planing into their lovely final form. Not much more effort and well worth it!
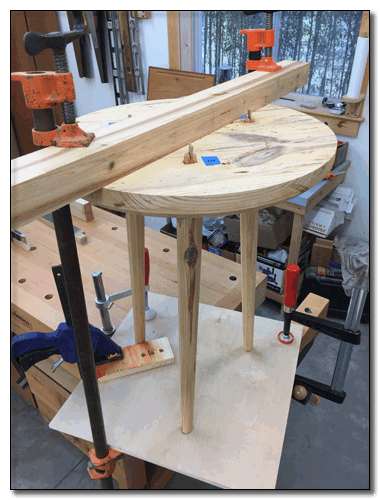
Final assembly of the table is aided by a plywood base layed out to hold the bottom ends of the legs in the correct position. Clamping pressure across the top and wedges glued into slots cut in the staked legs make the top and legs into one (left below). The next day the table top is leveled to a flat surface and legs are cut to final length at the floor. Final sanding and finishing complete the project.
 |
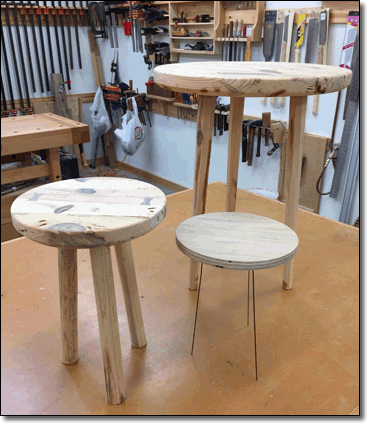 |
Photo (above right) shows the two versions of the staked table along with a small scale wire-legged model. The "milk stool" version has simple legs rounded with a drawknife and spokeshave. The wire model was used to easily explore different possible leg angles in the design pahse.
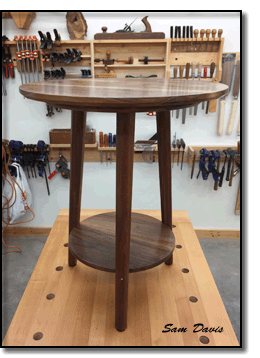
The walnut staked table (left) features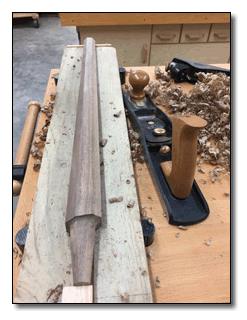 a lower shelf mortised into the legs and secured with wooden nails. A mid-century modern look with five-century old technology.
The bench top jig (right) has a 45 degree angle groove down the middle and stops on the end to hold the leg in place as it is planed into eight tapered facets.
